Angel Sound Internet Edition
Angel Sound Program is an interactive auditory training and hearing assessment program that lets you take control of your listening rehabilitation independently or self-administer your functional hearing test at home. You gain practice in discriminating and identifying sounds and speech components through a series of self- paced modules that cover different aspects of the listening process. The level of difficulty is automatically adjusted to match your developing listening skills. The program provides audio-visual feedback, highlighting areas you can continue to practice. The training and testing results can be shared with your clinician or therapist, who can provide further advice on your rehabilitation. Focused on practice and improvement of your listening skills, Angel Sound Program compliments your clinic rehabilitation and functional hearing test program. Angel Sound Internet Edition allows you to share your progress with your audiologists, speech pathologists, physicians, teachers, researchers, and other profes- sionals by real-time data sharing. Here is the brif document showing how to use this function for both the users and the rehabiliation professionals.Step 1: Create User Account for Internet Edition
Here are two ways to create user account for interent edition. The first option is to create the user account in the Angel Sound program and the second option is to create the user account in the website (here).Option #1: Angel Sound Program
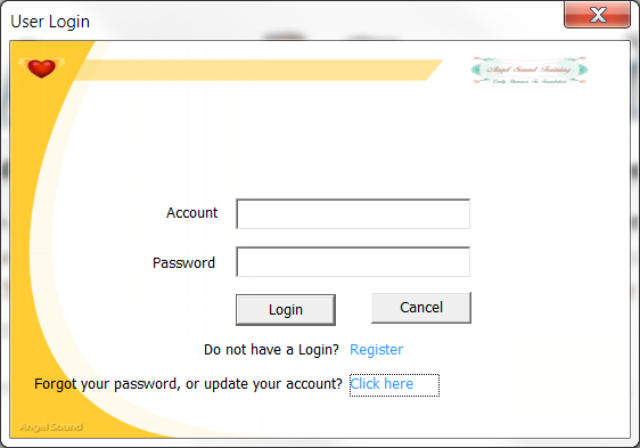
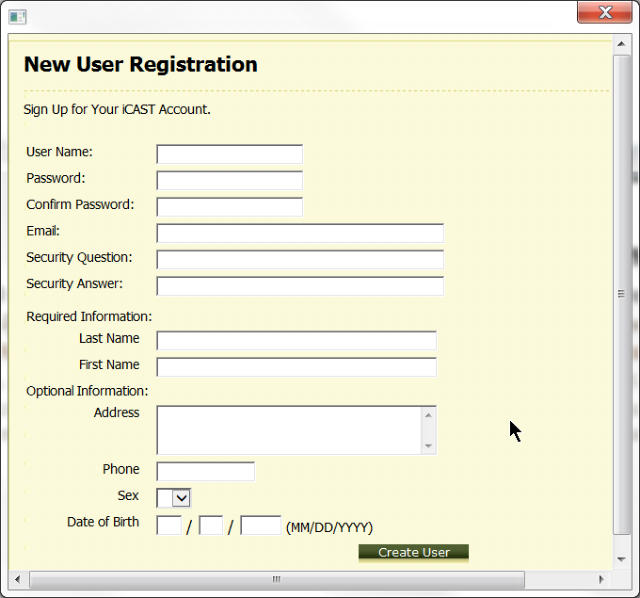
Just click the “Internet Edition Login” button in the middle of Main screen. The following window will pop out. Click the “Register” text in the middle of the User Login Window. Another new window will appear. After typing the following information: User Name, Password, Email, Security Question, Security Answer (For Password Recover), Last Name and Firstname, Click “Create User” button to complete the registration process.Option 2: Website
You can also create your account at the following website: http://angelweb.emilyfufoundation.org/angelweb/member_register.aspx Similar information is required to complete the registration process.Step 2: Linking the Accounts between Users and Professionals
The user needs to give the data sharing permission to professionals who can look at the user’s progress and provide some feedbacks to the user. The user need to go to website to complete the process.Login in the account
Go to the following website (http://angelweb.emilyfufoundation.org/) to log into your account. Type in User Name and Password to Login. Once login, the following tab will appear in the middle of the web page. Move the mouse to “My Sessions” tab and select “User Access” option in the pull-down menu. After selection, another two panels will appear in the screen with two buttons. One is “Add Accessible user” and the other one is “Add access permission”. User Action (First): Click “Add access permission”. The web will change to the following. Type your professionals’ account name in the BOX and then click the search button. Then the professionals’ account name will appear in the table. You can add any other accounts. Professional Action (Second): Click “Add accessible user” after the user give the permission. Type the user’s account name in the BOX and then click the search button. Then the user’s account name will appear in the table. You can add any user who already gives you the permission.Step 3: Access the training data and progress (For Professionals Only)
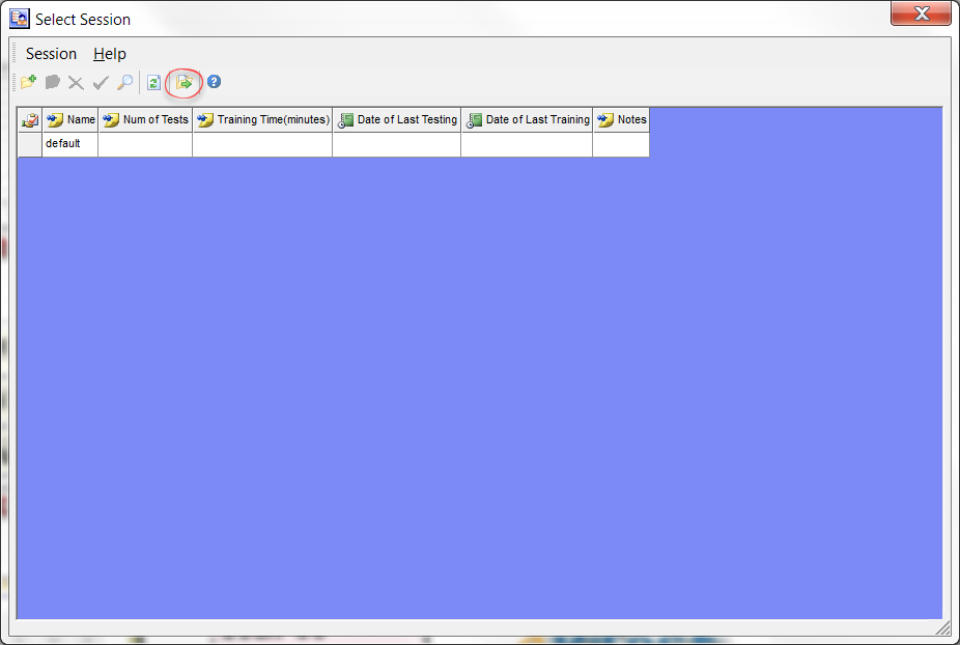
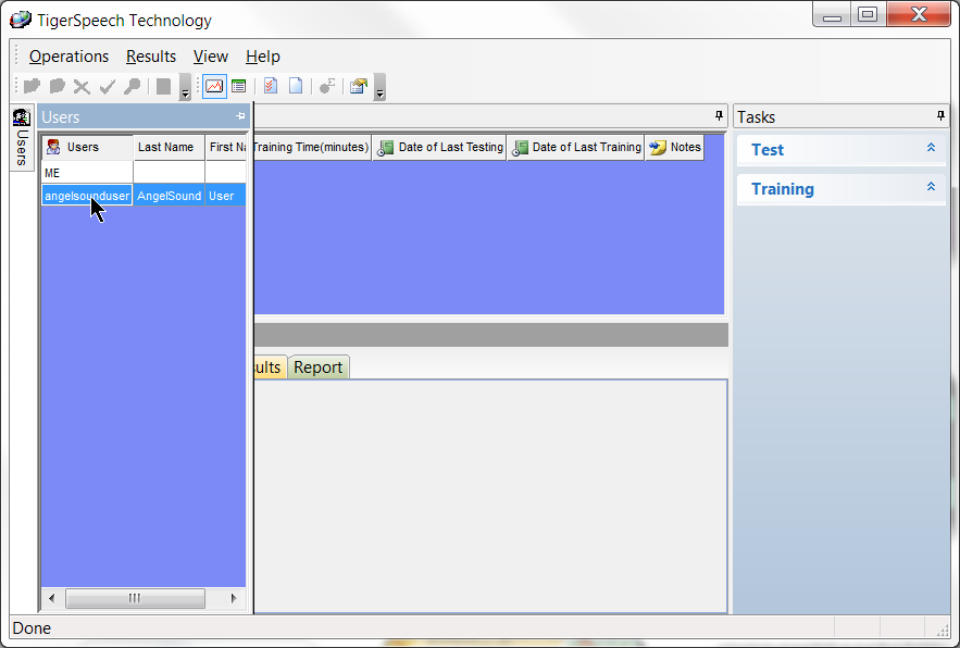
Once the user gives the permission and the professional add the user into their account, the professional can look at the user’s training data and progress at any time. Run the Angel Sound Program and Use “Internet Edition” to login. Once login, then Click the Session button in the top of the screen. Another window “Select Session” will appear in the screen. Click the “Details” button (Red Circle) in the top of the window. After that, a new window will pop out. Click “Users” TAB in the left, all the accessible users will appear in the table, Click the User you want to look at, then all the training data for this user will show in the right table. All the training details can be viewed in the various tables.Tips: Data Synchronization Between Local and Remote Server
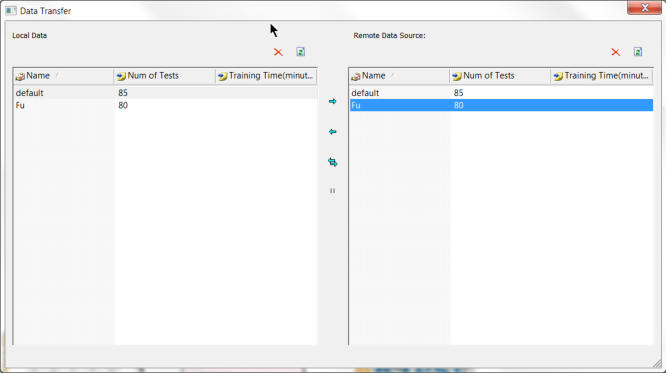
Internet connection is required for using the Angel Sound internet edition. The user can use the local version to run Angel Sound program if there is no internet connection available. Once the internet connection is available, the user can transfer their training data in the local computer to the remote server so that all the training or testing data can be saved in the account. Also, for the user who has been using local version for a while, all the training or testing data in the local computer can be transferred to their newly created account. Once the data are transferred to the remote server, the user can access their data at any computer. Here is the detailed methods about how to synchronize the data betwen local and remote server.Login in the account using Angel Sound Internet Edition
Run the Angel Sound program and click “Internet Edition Login” button shown in the middle bottom of the screen. Type in User Name and Password to Login. Once login, there are six small icons displayed in the right bottom corner of the screen. Click the first icon (marked by RED circle). A new dialog will appear in the screen.


“The data sharing function in the
Internet Edition is designed for
auditory research or clinician-di-
rected auditory rehabilitation
since the researcher and/or pro-
fessionals can monitor the users’
progress in real-time. ”

This screenshot image shows the data management module for Angel
Sound. Click the image to enlarge it in order to view it clearly. There are
several panels in the window, including Users, Sessions, Tasks, and
Results/Report.
Users: List all the users who provide the permission for data sharing.
Sessions: List all the training sessions for the selected users.
Tasks: List all the testing and training tasks that the user has done.
Results: Show all the results in graphic or table format.

This screenshot image shows the session management module for Angel Sound.
Click the image to enlarge it in order to view it clearly. The module allows the user to
create new session, open existing session, delete existing session, and find session
with specifc phrase or names. The module aslo allow the user to open the daya
management module by clicking the symbol marked by the red circle.
Note that the session can be used for different purpose. For the same user, the
session can be used to indicate different listening conditions, such as left CI, right CI,
or both CI, HA etc. For researcher or audiologist, the session can be used to indicate
different CI users, such as CI user #1, CI user #2 etc.

Professionals click this button to add the user who give the permission for monitoring

Click this “Search” button after typing the clinician’s user account name.

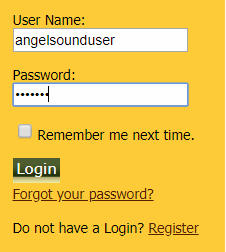
To log into the account in the website, type in the User
Name and Password then click the “Login” Button below.
If you forget your password, then click “Forgot your
password?” below to retrieve the password via email by
answering the security question provided during the
account creation process.
If you don’t have an account, please click “Register” to
create a new account.

This is the “New User Registration” window.
The following information is required, including
User Name, Password, Email, Security Question/Answer, Last Name and FirstName.
The other information is optional, including
Address, Phone, Gender, Date Birth.
It is not necessary to input this information.


To log into the account in the Angel Sound program, type in the User Name and
Password then click the “Login” Button below. If you forget your password, then click
“Forgot your password?” below to retrieve the password via email by answering the
security question provided during the account creation process. If you don’t have an
account, please click “Register” to create a new account.


These are the sessions in
the Local computer.

These are the sessions in
the Remote computer.

Click this to delete the session. Caution: Once
clicked, the data in the session will be deleted.

Transfer the selected session in
the local comupter to the server.

Transfer the selected session in the
remote server to local comupter.

Click here to synchronize all the session
between local computer and remote server.